February 5, 2017 amazon AWS lambda functions ec2 javascript virtualization cloud computing
 Lambda was named after a lamb that yelled “da!”. It’s true because I said it is.
Today I decided to play around with AWS Lambda functions, as it’s something relatively new, and a lot of people have been talking about it. Within a few hours, I ended up deploying a simple function in the cloud, which checks the availability of my website every 5 minutes. To begin with, let’s cover some basics.
What is AWS Lambda?
It’s very common to use virtualisation to deploy your applications. You can run multiple operating systems and applications on a single physical server. It’s much cheaper than buying and maintaining several physical servers, and it adds a layer of abstraction on top of the hardware. It’s implemented using a hypervisor.
Cloud computing is an overall term for providing an on-demand service for sharing server resources and software on the Internet. Amazon’s Elastic Compute Cloud (EC2) is one of the most popular of these services. Users rent Virtual Machines (VMs), and install and manage the OS and applications on it using a web interface. You can spin up new instances at various different geographical locations, and move applications and data between them.
AWS Lambda takes a different approach to cloud computing, but is not necessarily a substitute for services like EC2 or other providers. AWS Lambda let’s you run code without provisioning or managing servers. It provides what is known as a ‘Serverless Architecture’. The name is somewhat confusing because it’s obvious that servers are indeed used. The emphasis is on the fact that users don’t need to set up servers, and developers don’t need to know about the infrastructure. In simple terms, all you do is run functions. You pay for the computation power when your function is being executed, not for the running a server.
Using AWS Lambda
There’s a huge amount you can do, and Amazon has integration with many of their new and existing services. You function can respond to events, such as requests from the Amazon API Gateway or from your own API’s, or perhaps when there are data changes in an S3 bucket or DynamoDB table. Lot’s of fancy terms there.
The following languages and runtimes are currently supported:
Node.js, Java, C# and Python
I have some experience in three of these, but JavaScript is my main language of choice currently, so I’ll demonstrate my simple function with it.
My first AWS Lambda Function
I recommended checking out the Getting Started guide from AWS for instructions on creating your free account, and to familiarise yourself with the console.
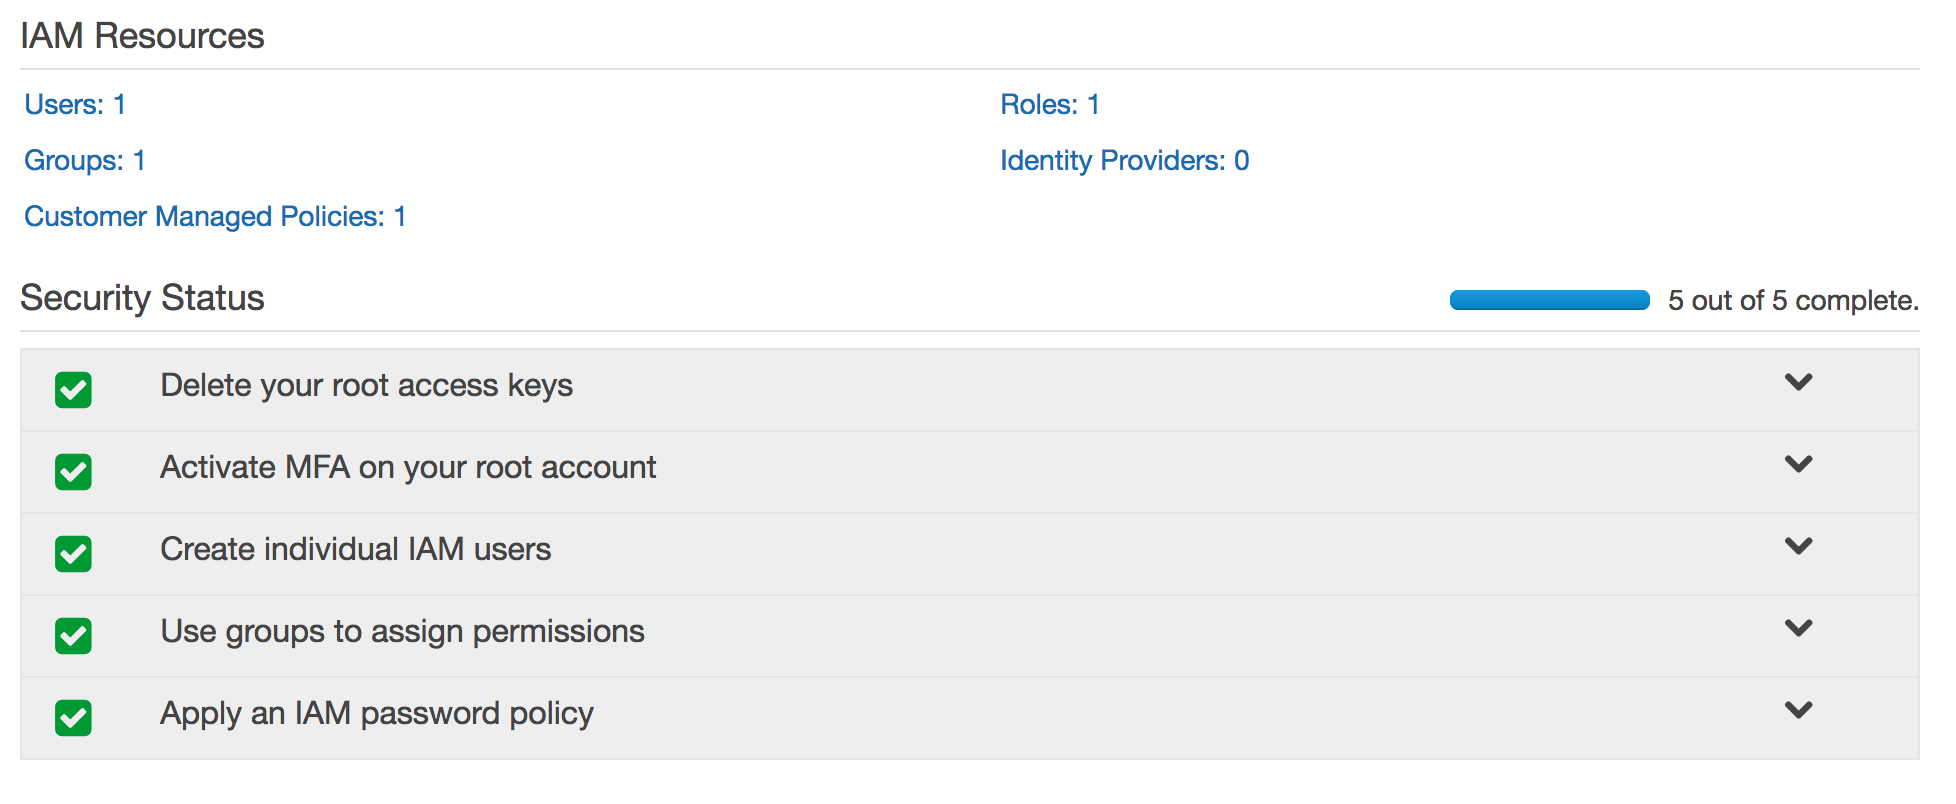
When you first login to your AWS account, it’s recommended that you complete the five security steps. If you’re just playing around with it, it’s not super important right now, but if you plan on using it properly, you should definitely do it.
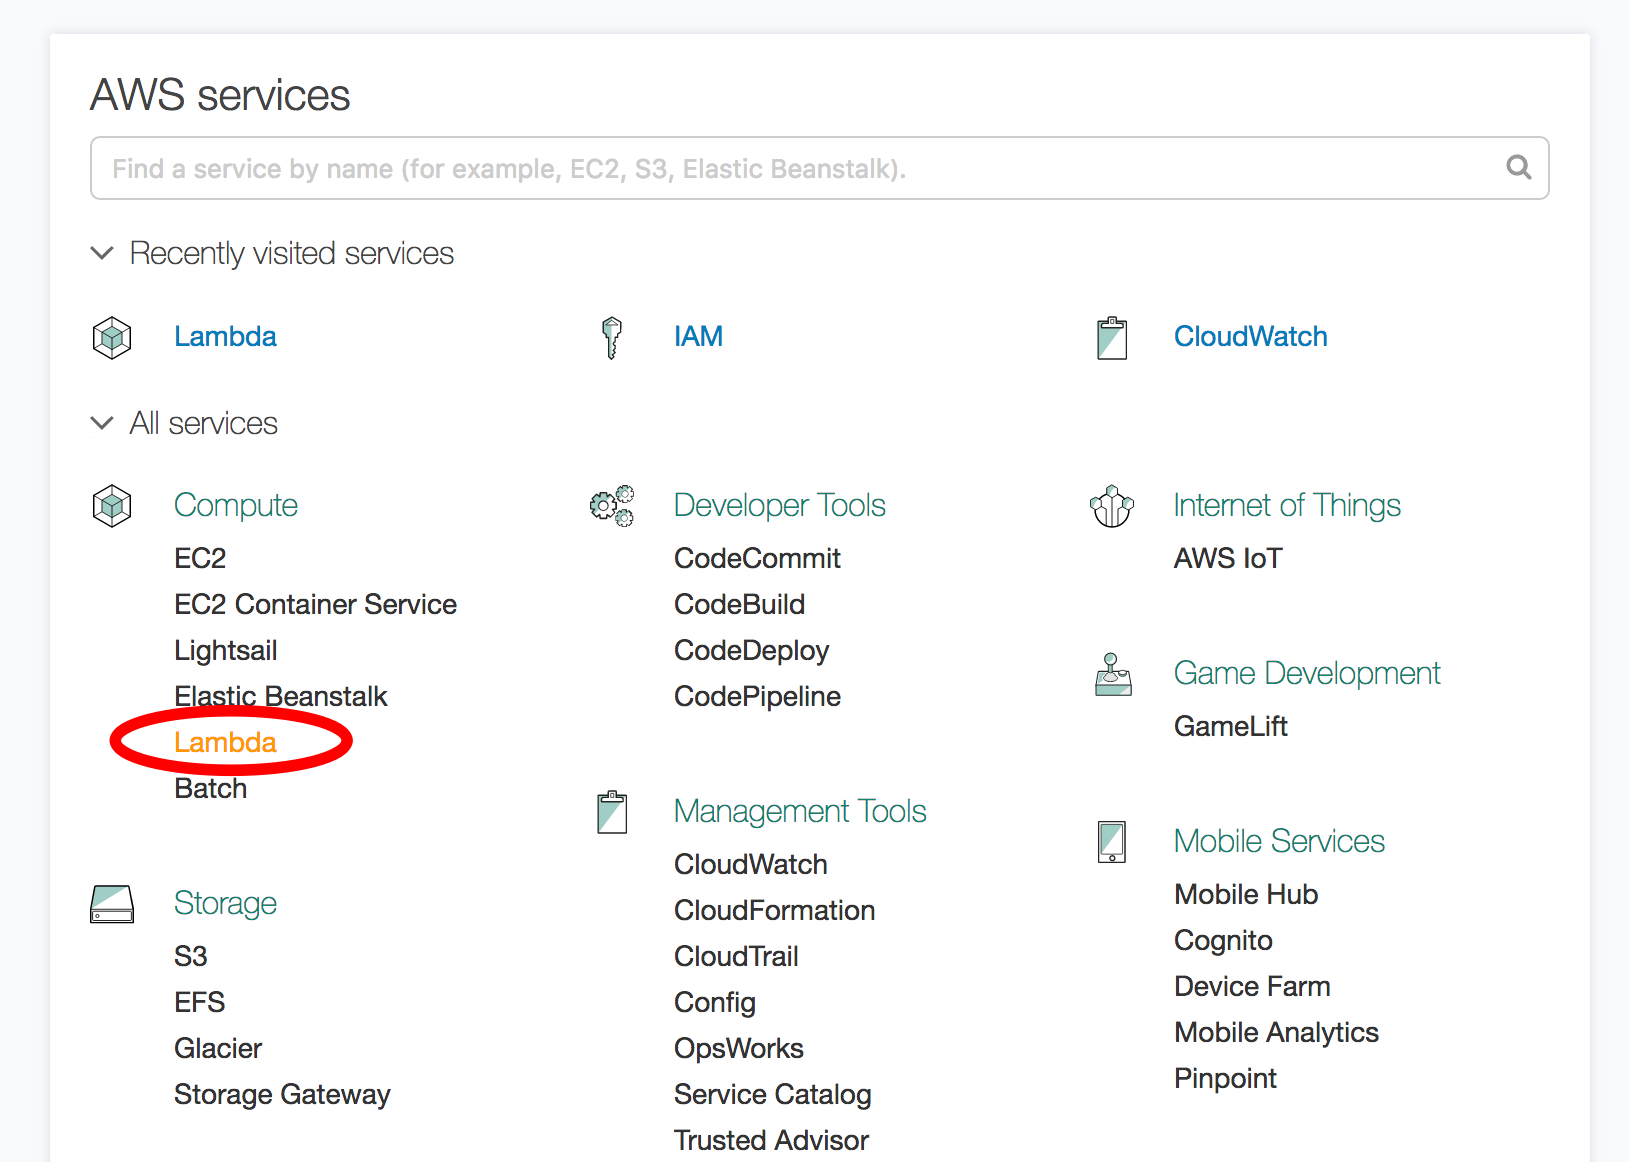
To begin, under the AWS services page, select ‘Lambda’.
From there, click ‘Create a Lambda function’. Before we continue, it’s worth noting that there already exists a templated (or blueprint) lambda function that does what we want, but it’s in Python. If you like, filter the list for ’lambda-canary’ to check it out.
We’ll choose to create a ‘Blank Function’ instead.

We’ll skip the trigger for now, but this is the service that will eventually call our lambda function. Click ‘Next’.

Now this is the meaty stuff. We’ll give the function a name, description, and select the runtime. It is now possible to write the lambda function in the ‘Lambda function code’ section. However, I don’t recommend it. It’s not a great way to write code, because it’s not easy to test. It’s also not good if you need to import node libraries, like we’ll need to do. Instead, open up your preferred text editor or IDE and run npm init.

Show me the code!
The handler is what gets executed by AWS. It passes in the event object, the context, and a callback function. See Lambda Function Handler (Node.js) for more details about the API.
The following function is very straight forward. We require the request node library (run npm install request for this), so that we can request my website and resolve the function as a success or as a failure. If the server returns a 200 response, and the HTML content of the response contains some expected text, the callback function will be called with some success text. In all other cases, the callback function will receive an Error object. This tells the service that the lambda function has failed.
'use strict';

let request = require('request');

let site = process.env.site;
let expected = process.env.expected;

function validate(res) {
    return res.indexOf(expected) !== -1;
}

exports.handler = (event, context, callback) => {
    request(site, (error, response, body) => {
        if (!error && response.statusCode == 200 && validate(body)) {
            callback(null, 'Check passed!');
        } else {
            callback(new Error('Check failed!'));
        }

        let now = new Date();
        let utcNow = new Date(now.getUTCFullYear(), now.getUTCMonth(), now.getUTCDate(),  now.getUTCHours(), now.getUTCMinutes(), now.getUTCSeconds());
        console.log(`Check complete at ${utcNow}`);
    });
};
The site and expected variables in the code are Environment variables. We pass them through in the config of our lambda function.

You’ll need to zip up the function code from your editor, along with the node_module folder containing the require dependencies. Select ‘Upload as a .ZIP file` from the ‘Code entry type’ selection box.
More config… sorry
Before finally save the function, we need to specify the role that will run the handler code. This would be one of the ones you set up if you completed your security setup earlier. If you haven’t, you can select the root.

We’ve now created the lambda function, but we haven’t told it how to run yet. The requirement is to run the function every 5 minutes, and alert me each time it fails. Hopefully, I won’t ever get a single email, but you know, fluff happens.
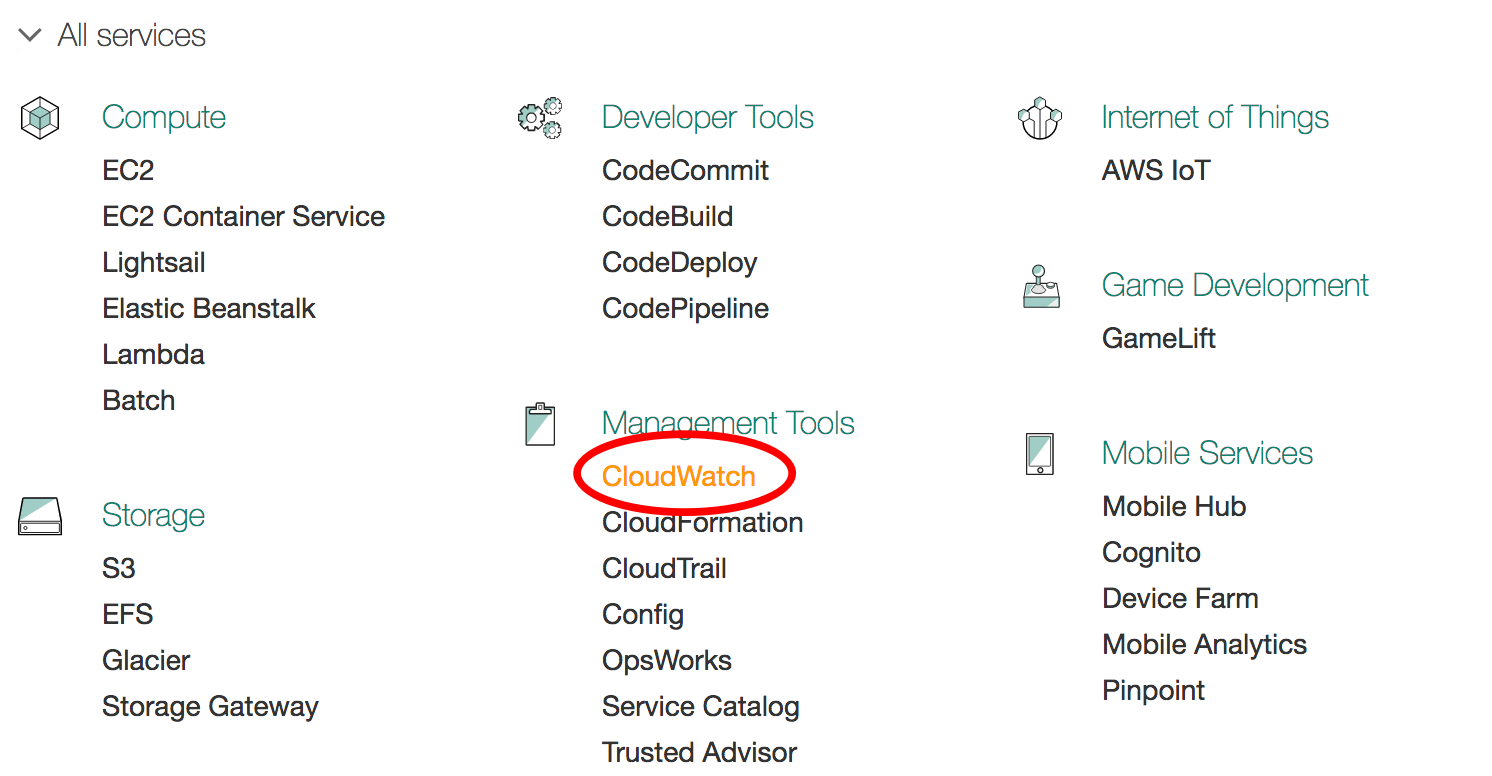
We need to go back to the AWS Services page and select ‘CloudWatch’.
Under the Rules section, click ‘Create rule’. We’ll schedule the function to run every 5 minutes, as per the config shown in the screenshot.

Now our function will run every 5 minutes, but what will happen when it succeeds or fails? Currently, nothing. We need to create an Alarm.
Under the Alarm section, click ‘Create Alarm’ and select ‘By Function Name’ to filter the functions.
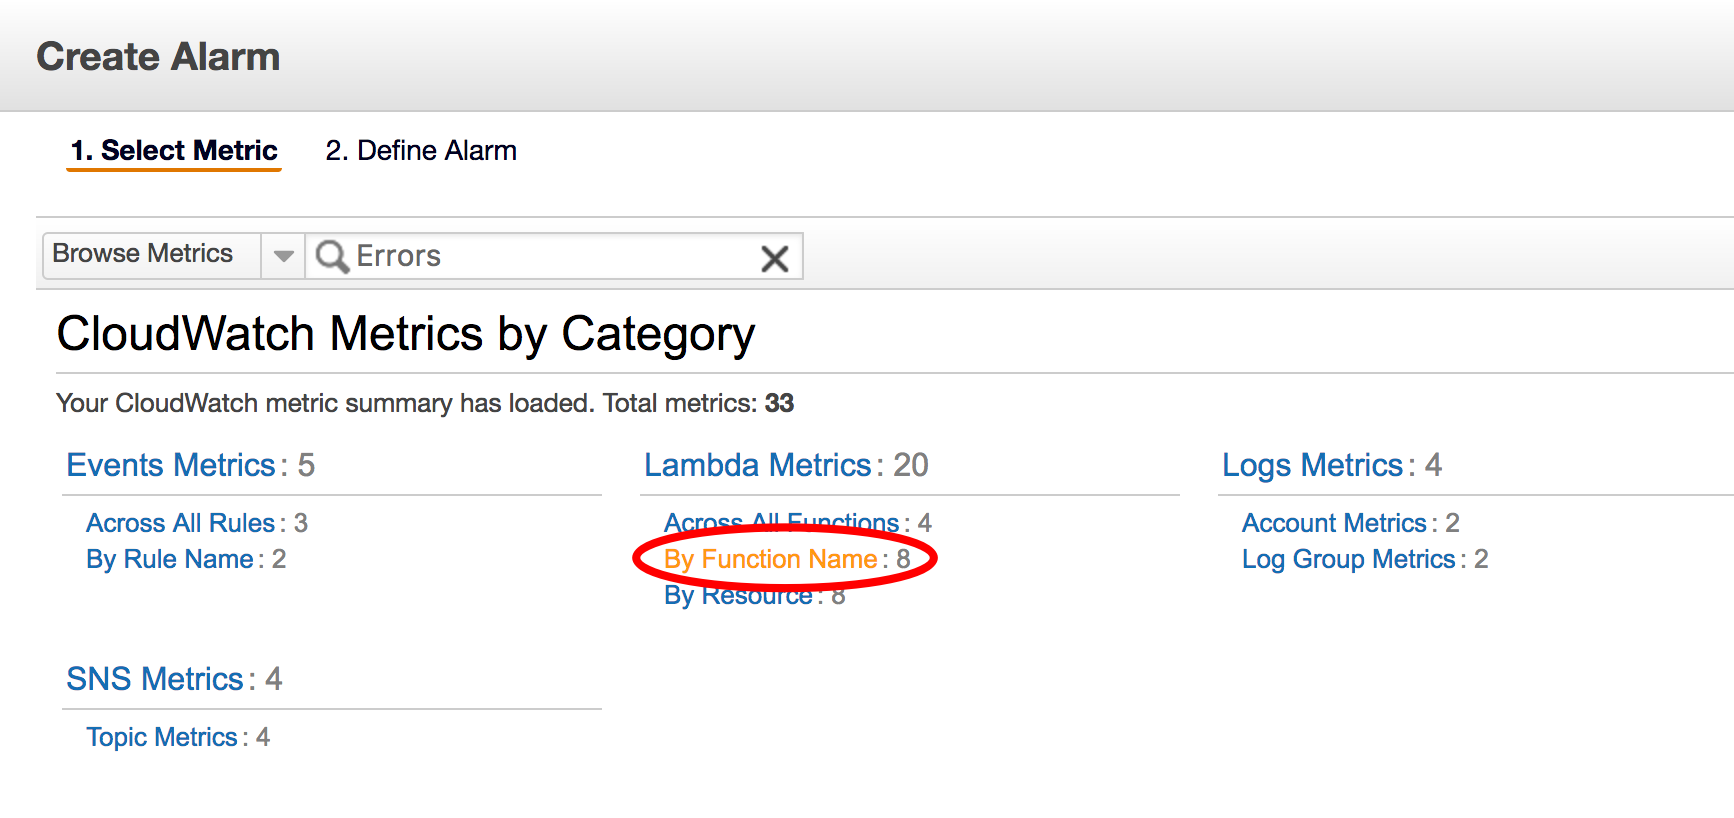
We’ll now see all the functions created so far, and a metric for each. Our function will error out if the site is down, so let’s select the Error one.
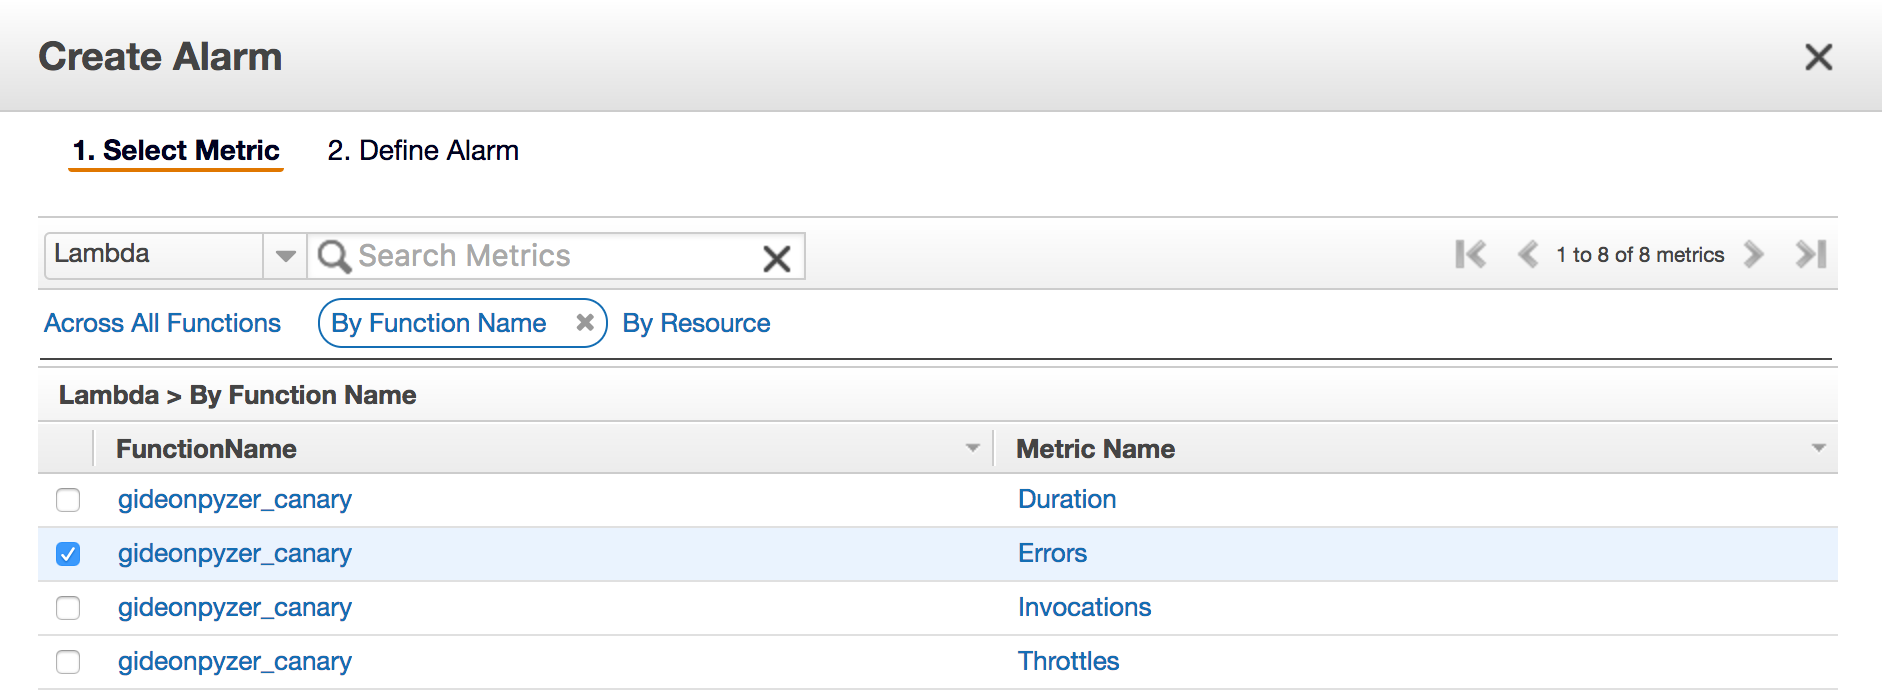
We’ll give it a name and a threshold for sending out the errors. In my case, every single time an error occurs, I’ll trigger the alarm. I added my email address for the notification.
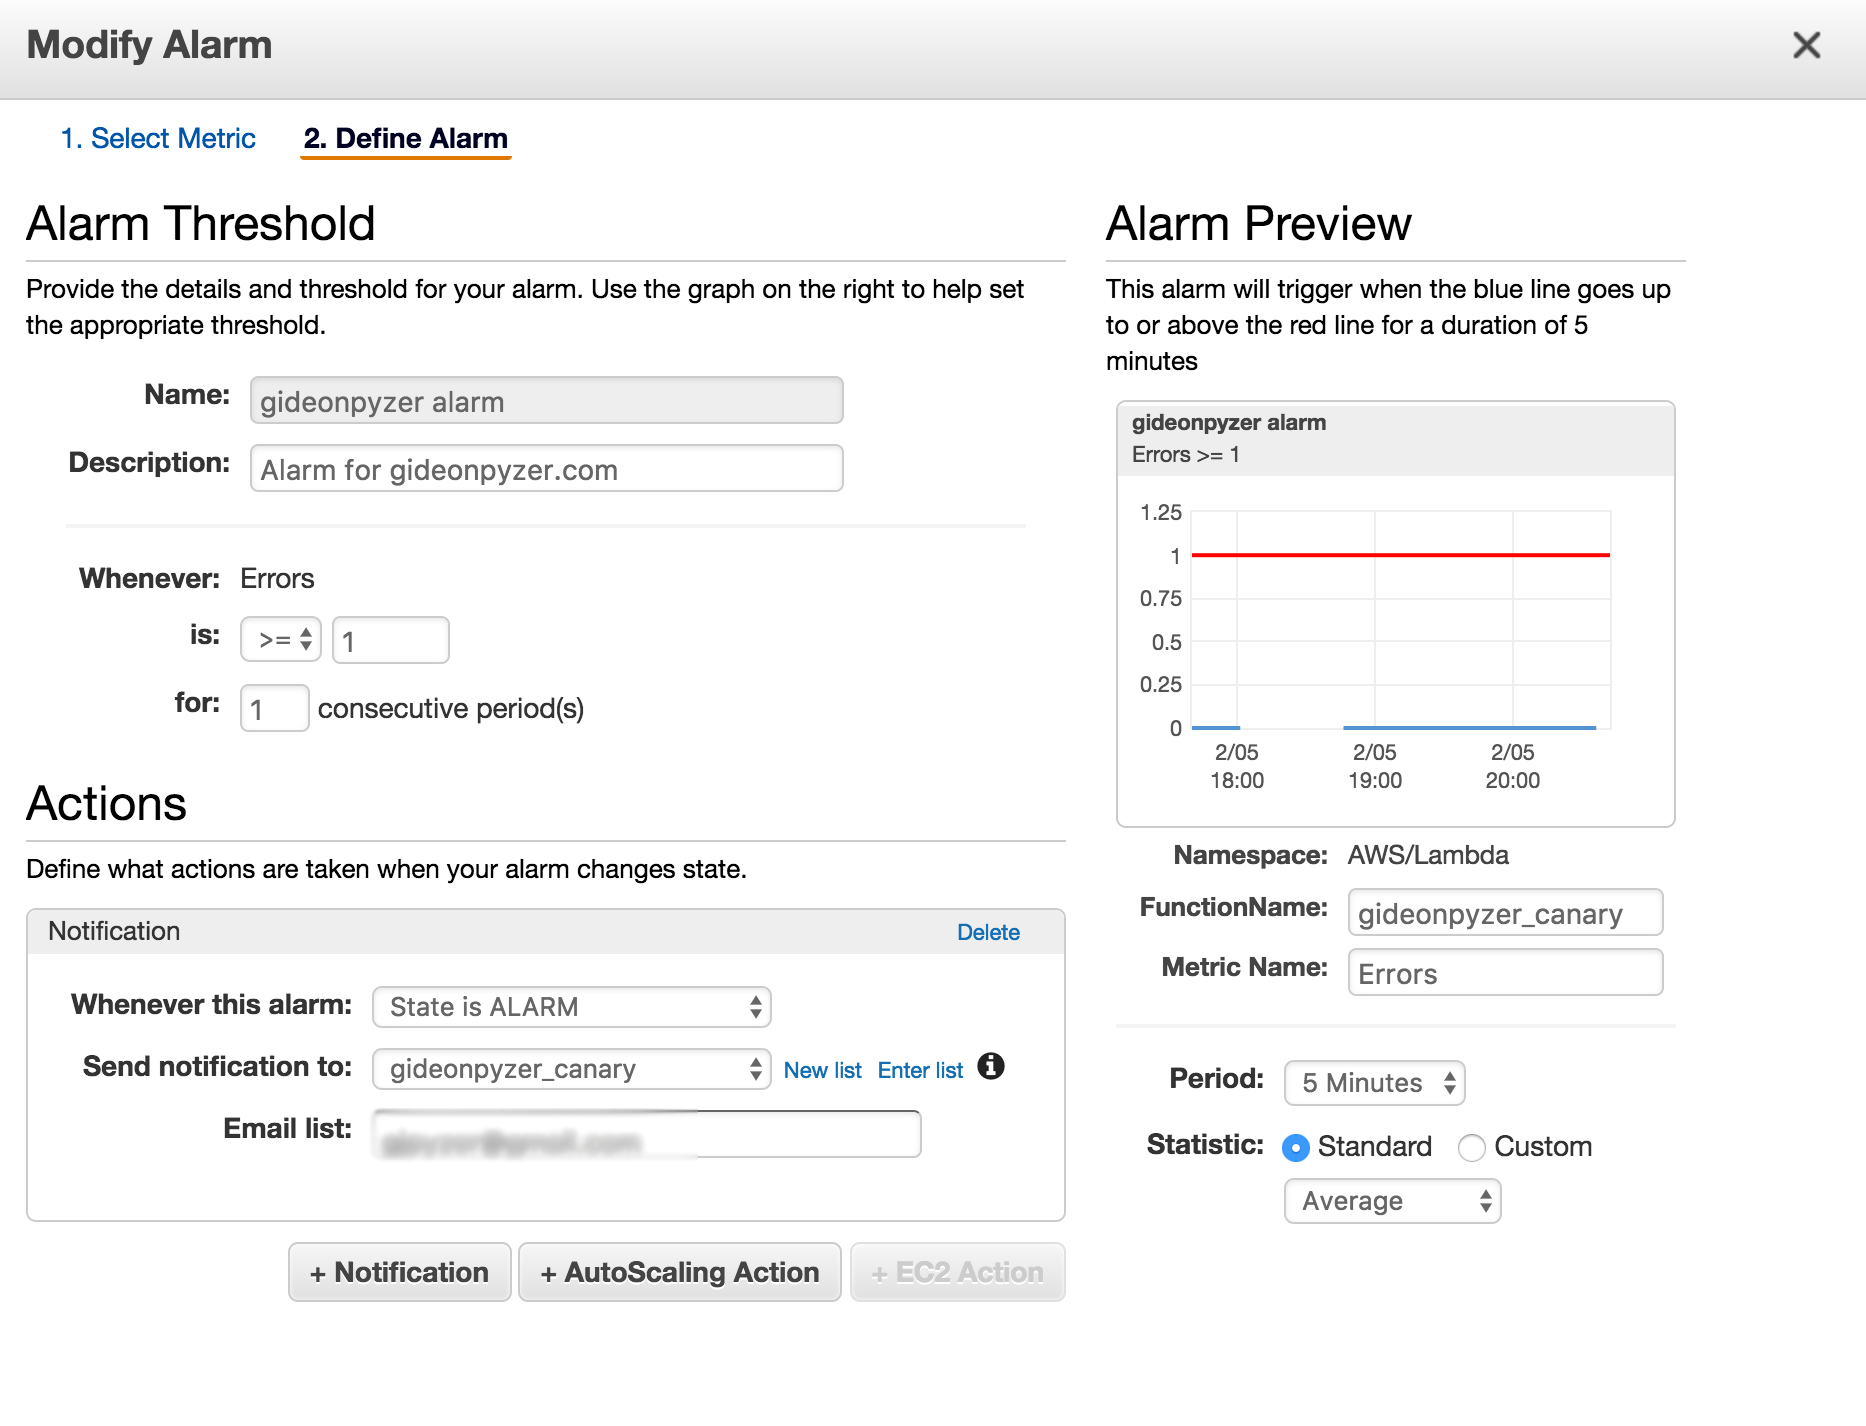
That’s it! We’re done! Phew! It’s a little bit of work to get it set up, but it’s quite satisfying in the end. I killed my nginx server for the giggles. Look!

Final thoughts
The lambda function I created was rather simple, but you can see how powerful and cost efficient the service could be. As I mentioned earlier, it’s not a substitute for EC2 or other servicies, it can go hand-in-hand.
Follow me on Twitter at @gidztech